


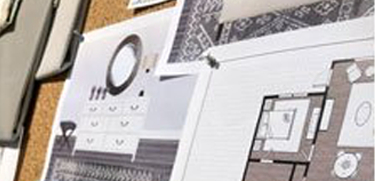
Photo Gallery Walls


2. Selecting frames in the same color will automatically create a sense of cohesiveness. Just use a variety of sizes and textures to create interest. Frames in different finishes can work well also - it all depends on the look you are trying to achieve.

- (image via)
3. Another way to 100% guarantee a coordinating effect is by using monotone prints. Convert all your images to black and white or sepia tone to achieve a cohesive feel more easily.

- (image via)
 5. Cut newspaper to the size of each frame and then place on the wall with painters tape so you can step back and adjust the design if needed before placing nails in your wall. Nail right over the newspaper and then tear it off when done.
 6. Use some personality! Don't be afraid to add other elements to your gallery besides just photos. Items like mirrors, small objects, box frames and wooden letters or words are all great elements to incorporate.

Have you tackled this project in your own home already? We'd love to see some photos! Leave a comment or email us photos at homeoffice @ bostoninteriors [dot com.


Blog Categories
More for Your Home
on-demand design services
Finding the perfect sofa, fabric, dining room set, and any other piece of furniture is an important decision. With the help of the design experts in all of our stores, we can help make that decision a whole lot easier. Choose from our free in-store or in-home design services available.
At-Home
One of our design associates can schedule a visit to your home, measure your space, discuss color schemes and
find the perfect way to make
it all come together.
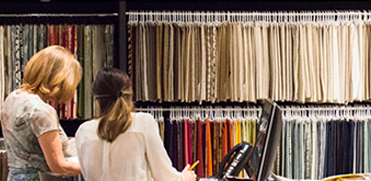
In-Store
We offer FREE in-store design services! Meet with one of our design associates at your nearest store and we'll help you find exactly what you're looking for.
Start Now